Security is a multi-faceted objective. If you care about protecting your data, you have to protect it from people as well as hardware failure. Thankfully, with Ubuntu you can meet both goals at the same time. This screenshot tutorial will show you exactly how to install Ubuntu Server 12.04 with encrypted LVM on RAID1.
Why Ubuntu Server 12.04?
We’re using Ubuntu because it’s open source. The firm doesn’t have the money to buy licenses for proprietary operating systems, so we wind up using Ubuntu or some other version of Linux for most things.
We’re using 12.04 because it is the most recent version of Ubuntu’s “long term support” (LTS). Any version of Ubuntu that Canonical puts out is supported for at least 9 months. The LTS versions (both desktop and server) are now supported for 5 years. This means that you won’t spend a lot of time getting your computer up and running only to find yourself without support within a year and have to go through all the trouble of making sure everything works on a new version.
That may not be too much of an issue for folks on state of the art machines. But that’s not us. As I said, we don’t have much of a budget for the IT department. We’re still building most of our services on Dell PowerEdge 750s. Another reason for us using Ubuntu Server 12.04 is that it will still run on these old machines. (The steps I’m going to cover in this tutorial were first done on a PE server, but these screenshots were taken from a VirtualBox install.)
Why Encryption?
The firm handles sensitive data. We have to do our best to keep it out of the hands of unauthorized people. If you have data that you don’t want others to access, you’re in the same boat. If you’re reading this tutorial, you probably already know this, but I can’t go without emphasizing that just because a computer requires a login password doesn’t mean that unauthorized people can’t get the data. Without an encrypted hard drive, I could just take your hard drive, hook it up to another computer, and access the entire filesystem that way.
Encryption prevents this from happening.
The Ubuntu installer uses an encryption tool called Linux Unified Key Setup (LUKS). It’s the standard Linux encryption tool. When you set up a drive, partition, or logical volume with LUKS, you create a passphrase that is used with an algorithm to encrypt the data. The data is stored encrypted on the drive and is only decrypted when a correct passphrase is given. Data being read is decrypted as needed, and data being written is encrypted before it’s written.
Basically, even if someone snatches your hard drive, they can’t read the contents unless they have the passphrase.
Why LVM?
We’re installing with logical volume management (LVM) because that’s how the Ubuntu installer handles encryption. To use encryption without LVM would take more hacking than it’s worth. And there are some useful aspects of LVM. Particularly, being able to dynamically grow or shrink volumes and add or remove physical drives from the volume make LVM very flexible.
Why RAID?
Protecting your data from outsiders is one thing. Protecting your data from failing hard drives is another. To modify the Fight Club quote, “On a long enough timeline, the survival rate for every hard drive drops to zero.” LVM is great for adding multiple drives together to form one logical storage area. But LVM won’t work if a drive fails. At that point you’ll have to resort to data recovery tools (speaking of which, if you need to recover data from a failing hard drive, you might want to take a look at Ubuntu Rescue Remix).
This is why we need a redundant array of independent disks (RAID). The redundant part is key here. If a drive fails, we want the data to persist. With the right kind of RAID, you can replace a failed hard drive and everything will keep running as normal. The data that was on the drive previously will be rebuilt from the remaining drives.
There are several varieties to choose from, but in this tutorial we’re doing RAID1. RAID1 is the simplest form of redundancy: it puts the same data on two drives. If one drive fails, the other is there to pick up the slack.
In addition to its simplicity, RAID1 is also our array of choice because the PowerEdge 750s have two hard drive bays.
So, now that we know why we’re doing what we’re doing, let’s get to the how.
How to Install Ubuntu Server 12.04 with Encrypted LVM on RAID1
Get Ubuntu Server 12.04
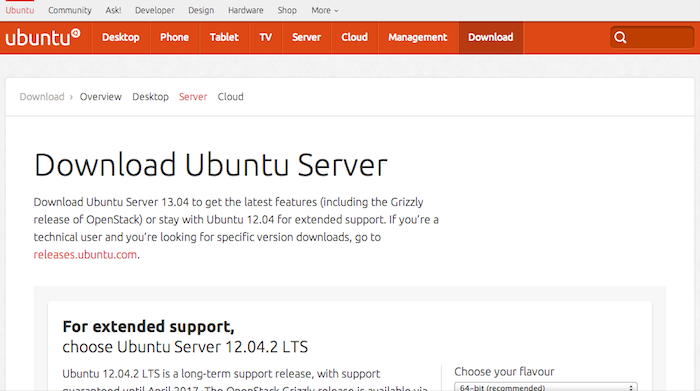
Since 12.04 is the newest LTS release, you can still get it from the main Ubuntu download page. If you’re reading this after a newer version is released, you should be able to get it from the older releases page.
After you have downloaded the iso, you can burn it to a disk or create a bootable USB.
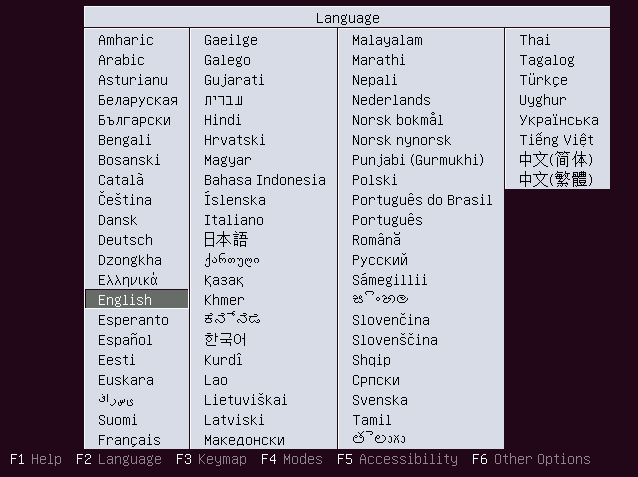
Starting the Ubuntu Installation
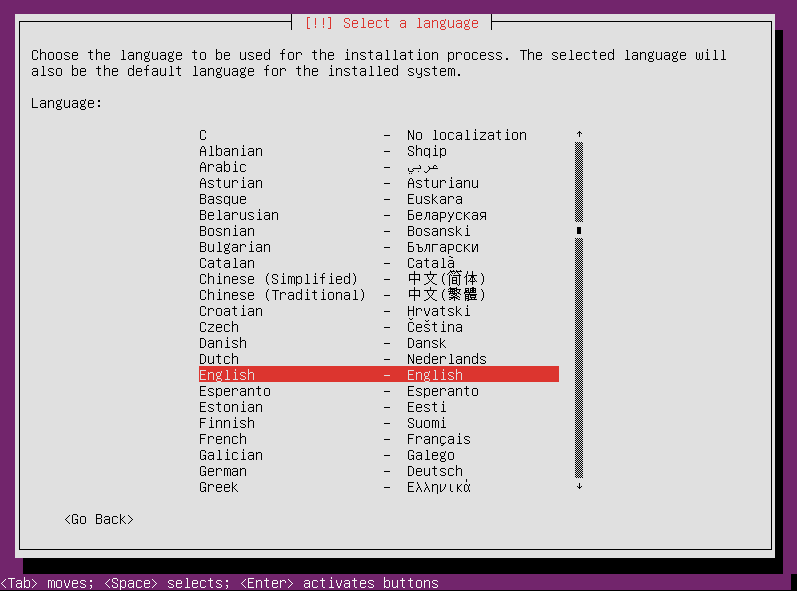
Boot your computer with your installation media. Part of Ubuntu’s philosophy is to make the OS available to as many people as possible, which means making it available in multiple languages. So before the installer can go any further, it asks you what language to use. I’m an English-speaker, and that’s the language I’m writing this tutorial in, so that’s what we’re choosing. Press enter to make your selection.
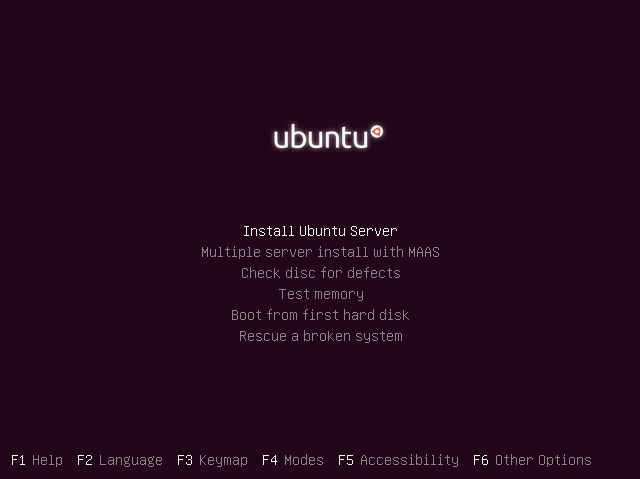
After selecting the language, we’re at the Ubuntu installer main menu. Press enter on “Install Ubuntu Server.”
Once again the installer wants to ask what language to use. We’re still using English. Press enter on your selected language to continue.
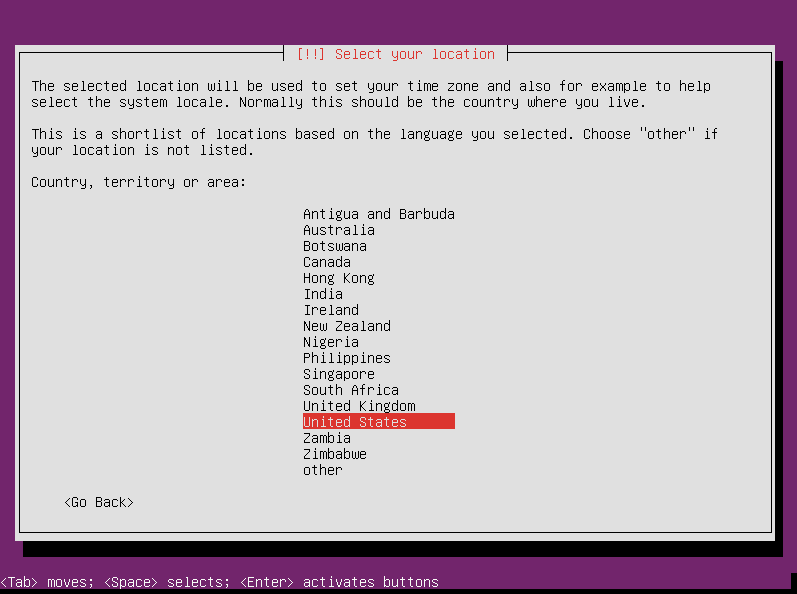
Select your location. We’re in the United States. Use your arrow keys to change your selection and then press enter.
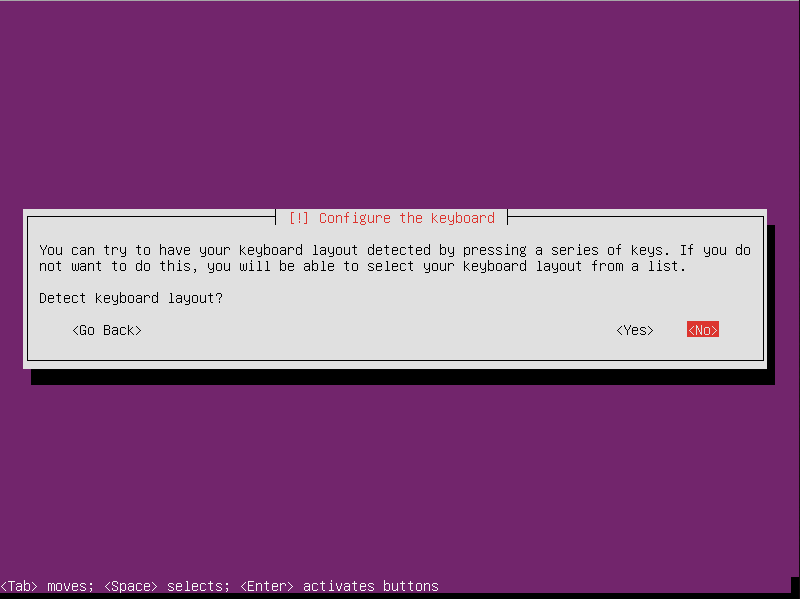
The installer wants to know if you want it to detect your keyboard layout. If you have an unusual keyboard, then you might want to do this. With most standard keyboards, this won’t be necessary. Make your selection and press enter to continue.
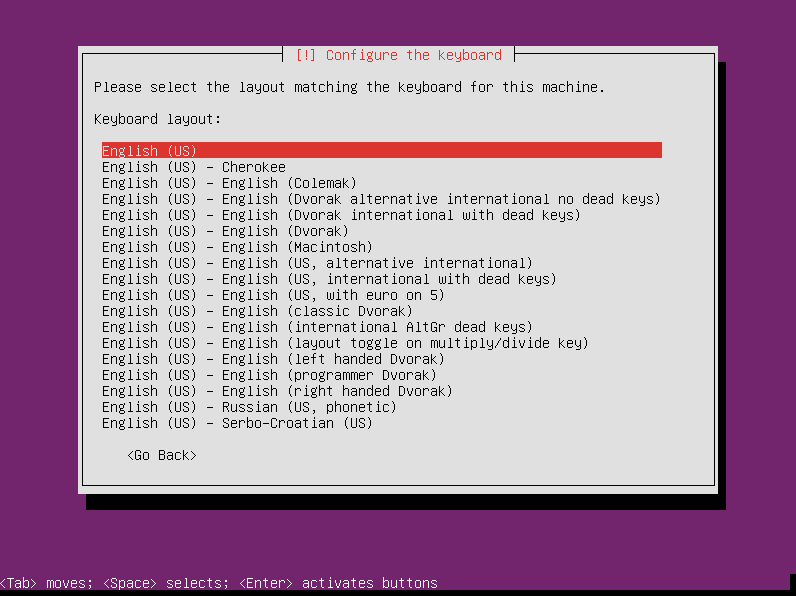
I opted out of automatic detection, so I have to tell the installer what kind of layout I have. I’m English (US). Select your keyboard’s location of origin and press enter.
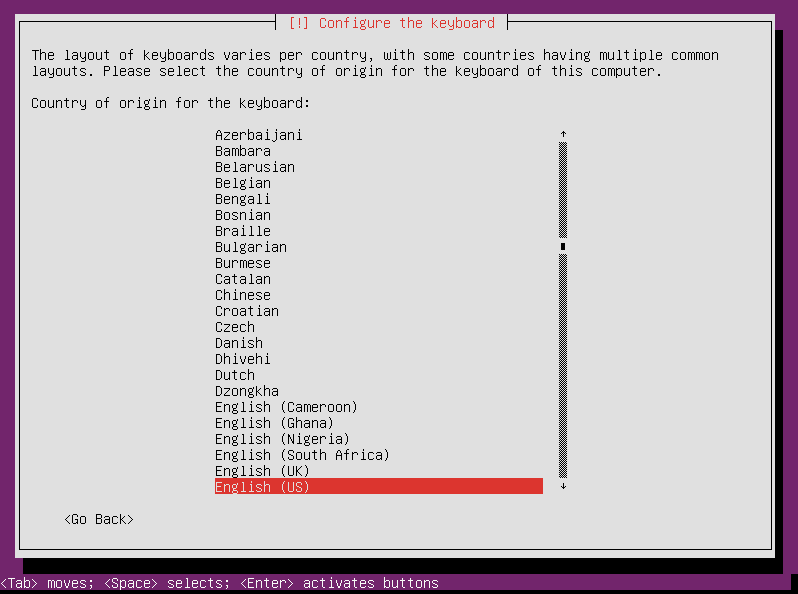
Then I have to choose the layout. Enter to continue.
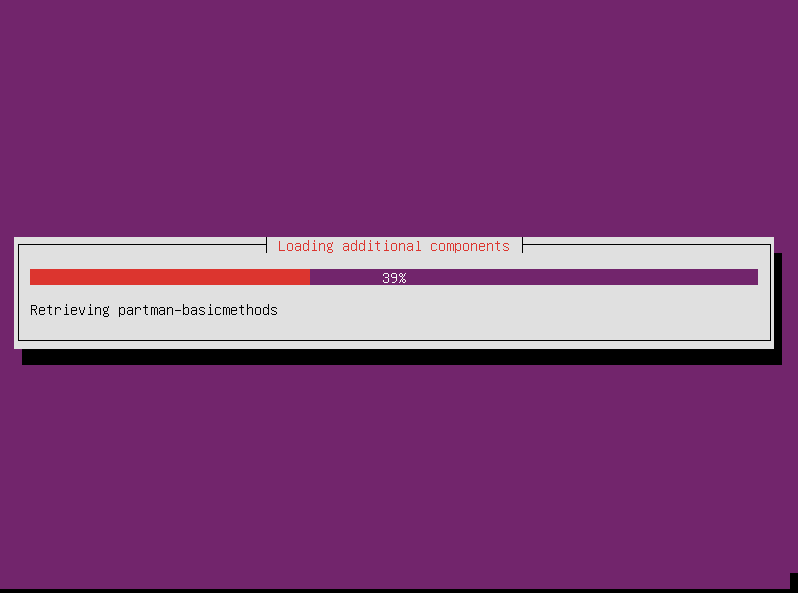
The installer then loads some components.
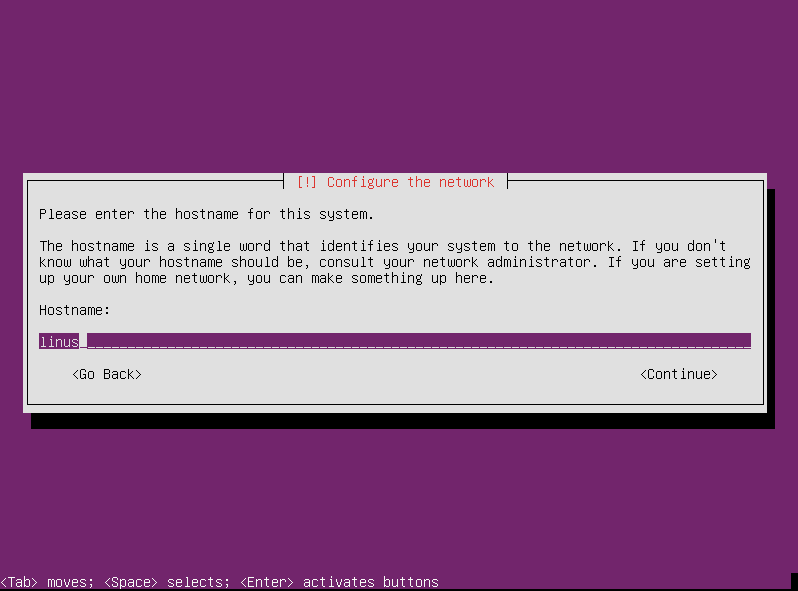
The next screen prompts you for the system hostname. This is the name of your server. This isn’t permanent; you can change it later if you want to. But you have to put something in, so pick something, type it in, and press enter.
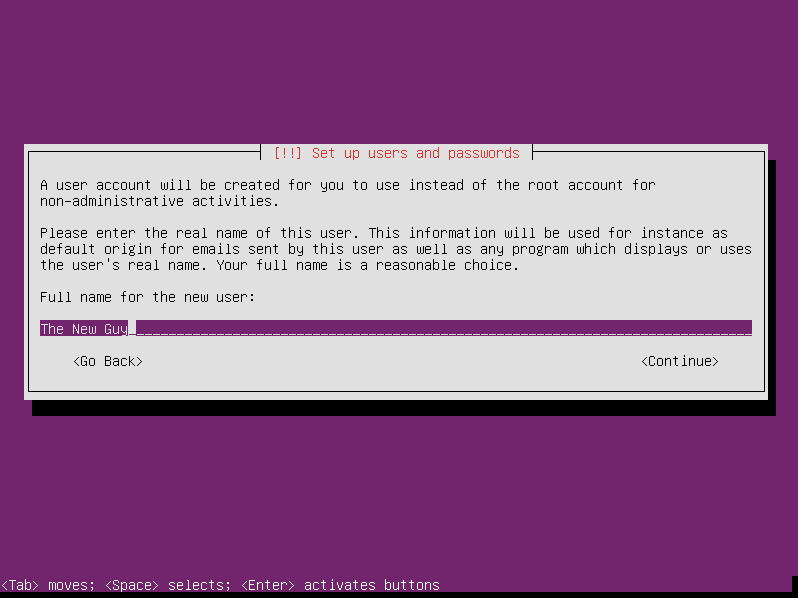
When you install Ubuntu, you have to create a user account. This user will be an administrator by default. As the sysadmin, you might want to just create an account for yourself. Any other administrator accounts can be created later. So enter your full name and press enter.
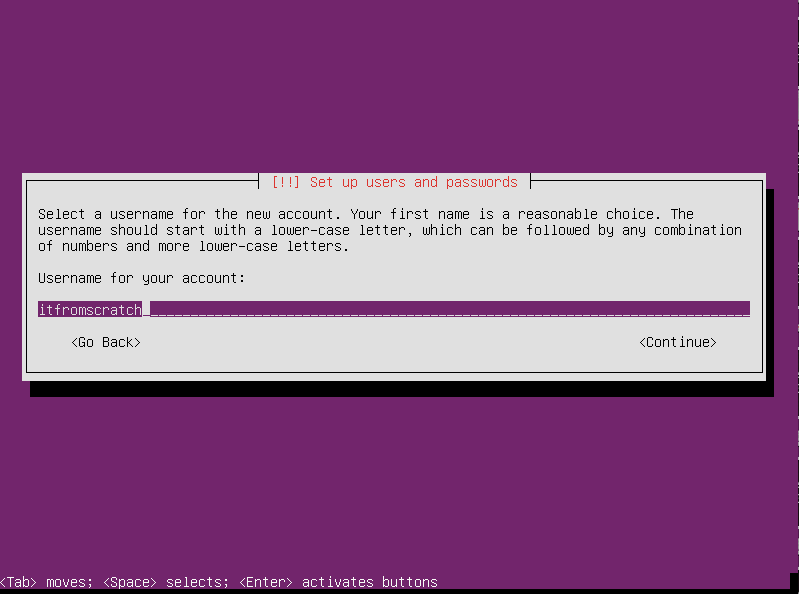
Then you have to enter the username. This is what you will use to log in to the system, not your full name. Pick something and press enter. (By the way, I didn’t know this until I was creating this tutorial, but the username cannot contain any capital letters.)
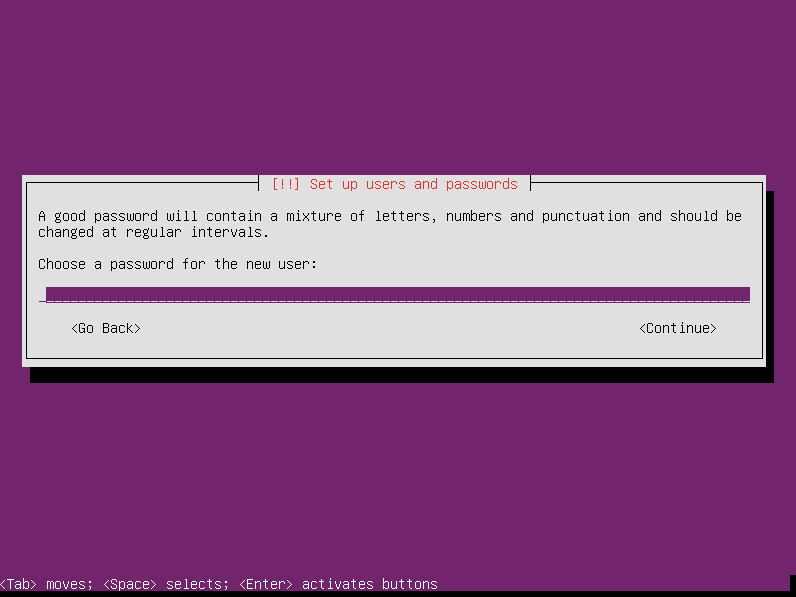
After creating the user account, you have to give it a password. Type the password and press enter.
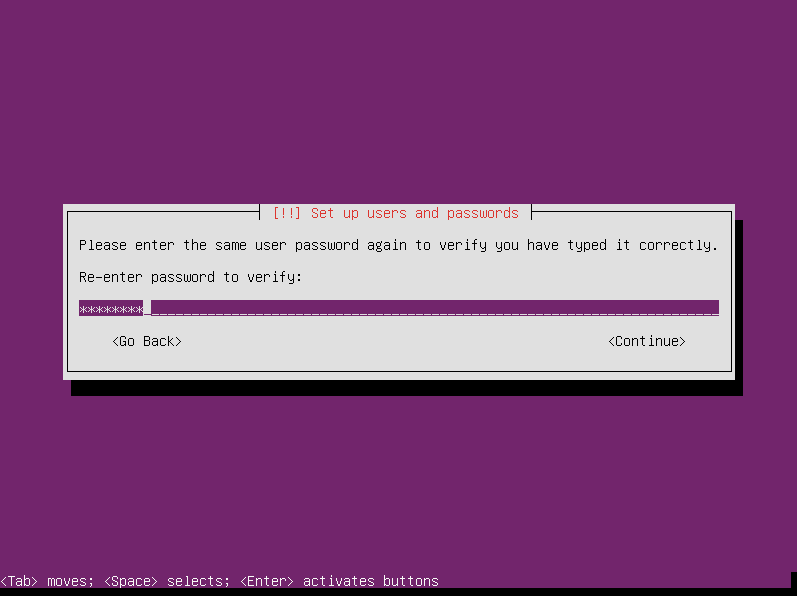
Type it in one more time just to make sure you got it right the first time.
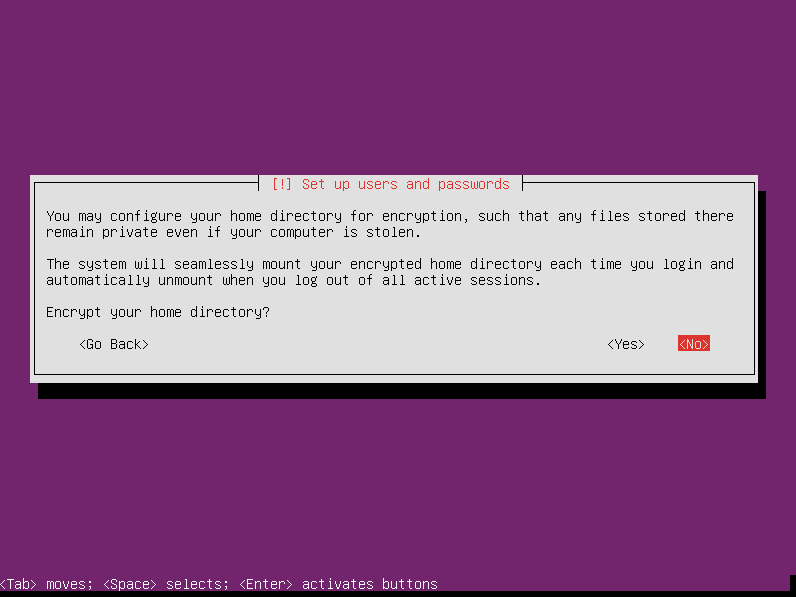
The next screen asks if you want to encrypt the home directory. This is more useful for sysadmins who aren’t encrypting the entire hard drive. Since your whole hard drive is going to be encrypted, I’m not sure how much benefit you would derive from specially encrypting your home directory, but the option is there nonetheless.
The installer attempts to determine your time zone.

Those are the preliminary steps in getting ready to install Ubuntu Sever. Now we get into the nitty gritty of partitioning the hard drive(s) to install Ubuntu Server 12.04 with encrypted LVM on RAID1.
Now with the new installers the bootable flag cannot be set to on for the raid partitions which means you cannot configure raid 🙁 Moreover the boot now is by default set to EFIboot which complicates things even better. The combination of raid 1 and lvm is critical for professional environments. This is a great tutorial. Could you update it? That would be awesome. Thanks!
I’m not sure what you mean by “the new installers.”
he means the installers from 14.04 – these changed many things…
Thank you — this was extremely helpful!!
Hey, Jonathan! Glad to hear it helped.
Great tutorial. Thanks for taking the time to do this.
Thanks, Gary. Glad to help.
I am having a problem with this setup. If I unplug either drive, the system will not boot. I get the error message: “Begin: Waiting for encrypted source device……”. So far I have not been able to find any help on what the solution to this is.
Thank you,
Gary
The instructions here are very clear and helpful. BUT I built it with Ubuntu Server 14.04.1 and have the same problem as Gary – if I unplug either drive and boot, the system says “no volume groups found … waiting for encrypted source device”
I then rebuilt with RAID->LUKS->LVM rather than RAID->LVM->LUKS but get exactly the same problem.
Lst time I tried this (in 2010) the same problem cropped up. I really don’t think Ubuntu has paid much attention to the need for encrypted RAID to work.
I even tried putting a clean disk in place of the “removed” disk to see if it rebuilt, but still says just “waiting for encrypted source device”.
I gave up on Ubuntu for this. Instead I installed a minimal version of Debian 6.0.10 and the encrypted RAID works perfectly; that is removing either drive still allows you to enter your passphrase and log in.
Seems to me there is no point using Ubuntu for encryption with RAID if you can’t boot when a drive fails. And since I am about to build a HP microserver for file storage, I do not want to get burnt by a buggy RAID/Encryption setup.
Thanks “the new guy” for the detailed instructions though, they are probably applicable to Debian and maybe other OS’s too.
Hi The New Guy.
I also have “The new installer”, downloaded today and the bugs that George Pligor speaks of are also preventing me from being able to configure a software RAID 1 array on Ubuntu 12.04.3 LTS 64-bit Server.
Some of the changes include:
Not being given a choice to make a partition Primary or Logical.
An added line to give a partition a name
The inability to set the Bootable Flag to “on”.
The bootable flag of course is the killer. It means grub will not instal.
I am unsure why they changed the installer, but I really wish they hadn’t.
I would really like to get my hands on the old installer because the new installer doesn’t recognize a hardware RAID1 array setup in the Intel RAID Utility on my Gigabyte Z87M-D3HP Motherboard either.
OK, so there is no such thing as a “new installer”
turns out the problem was that I was using 3TB HDDs. anything bigger the 2TB and the Partition table needs to be forced to GPT.
The current installer is not able to cope with rives larger than 2TB for RAID.
You need to set the partitions up first in something like GParted (I used GParted Live CD, or you can use Ubuntu Desktop Live DVD and use its GParted.)
explicitly set the Partition table to GPT.
create a partition at least 1.0MB with no file system and set its flag “biosgrub”
create your swap partition and set its flag “raid”
create your main partition and set its flag “raid”
repeat for the other HDD
exit and begin normal instal.
Once you get to the Partitioner, the partitions are already setup, just do the RAID Configuration.
Create MD swap
create MD main
back in the partitioner, choose swap in the array and choose “use as” – swap area
choose the main in the array and choose “use as” – ext4 – mount – / (root)
DONE.
not need to worry about setting bootable flag.
Finish and write changes to disk.
Install will then work.
This is only for HDDs above 2TB that this is necessary.
solution found here:
http://ubuntuforums.org/showthread.php?t=2109438
Thanks for your input, Alan. Those bigger drives pose some interesting challenges.
I read this 2 years later and it’s going to save my day! I had no idea the 2GB limit was a problem, took me forever to start searching and here, of all places my search hits sent me to, at last I find a decent explanation…
Thx a zillion!
This guide was great – thanks for taking the time to prepare!
Hi The New Guy,
Thanks for the effort , the tutorial is clear and very helpful.
I have a question, need advise / help.
With the same setup like the example with a RAID 1 with 2 drives setup , if one of drive is dead and what steps to recover the array after a brand new unformatted hard drive is replaced .
Good documentation like this is priceless thank you for taking the time to write it 🙂 I am interested in Ubuntu administration and will be following this site for future entries
There be any problems with an encrypted partition by adding another PV in LVM? Could you describe the process more?
1) Create new PV (only one drive without MD for simplify): pvcreate /dev/sdc
2) Add PV to VG: vgextend linus /dev/sdc
3) Extend LV: lvextend -LXXX /dev/linus/root
4) Anything with /dev/maper/linux-root_crypt??
5) Resize fs: resize2fs /dev/maper/linux-root_crypt
4) cryptsetup resize…
🙂
Thank You!
This is extremely helpful and easy to follow!
Is not /home missing in this tutorial or is it created automatically within / ?
Awesome tutorial! Thanks a lot!